Problem
To complete a migration from Exchange 2010 (or 2007) to Exchange 2013, you need to introduce Exchange 2013 into your existing Exchange environment, then migrate your content onto the new server(s), and finally remove Exchange 2010.
Solution
Assumptions:
In this example I've got an existing Exchange 2010 environment running on Windows Server 2008 R2. I'm putting in Exchange 2013 onto a new server running Server 2012. Post install theNEW server will hold client access, and mailbox roles.
Exchange 2013 Role Placement
Unlike with previous versions of Exchange, the 2013 approach is NOT to split up roles to different servers, it's considered good practice to deploy all roles on all Exchange servers.
Exchange 2013 Licensing
Unless you have Microsoft "Software Assurance" you cannot simply upgrade to Exchange 2013 for free. You will need to buy the Exchange 2013 Base product. You may wish to look at an "Open Value Agreement", which lets you pay the cost over a three year term.
The Exchange 2013 (on-premises) software itself comes in two flavours, Standard and Enterprise.
Standard: For small Exchange deployments (1-5 Mailbox Databases) and for non mailbox role servers in larger Exchange deployments.
Enterprise: For large Exchange deployments (1-50 Mailbox Databases).
Exchange 2013 Client Access Licenses
As before there are two types of CAL for Exchange 2013 access. These are also 'confusingly'called Standard and Enterprise.
Note: An Enterprise CAL is NOT just for Exchange Enterprise 2013 and a Standard CAL isNOT just for Exchange Standard, this is a common mistake. Though you can mix and match, i.e. a standard CAL is required for all mailbox users or devices, adding an Enterprise CAL is only required for those existing users or devices requiring additional functionality.
Standard CAL: Required for all users (or devices) that require access to an Exchange mailbox. For most people these will be the CALS you need to purchase.
Enterprise CAL: Is an additional license that's added to the Standard license, this enables the user to use archiving/journaling and unified messaging (Requires Outlook 2013). It also gives access to more advanced ActiveSync management policies and custom retention policies.
Exchange 2013 Migration Step 1 "Planning / Pre Site Visit"
1. Media and Licenses: Before you start you will need to have the Exchange 2013 CU2 (CU1 = Minimum) version of the install media (.iso or DVD). DO NOT attempt to perform the migration with a version of Exchange media that IS NOT at least CU1. Warning, this will be a DVD image (over 3.5 GB), you may wish to get this downloaded from a site with a decent Internet connection!
2. Make sure any third party Exchange software you are currently running is also supported on Exchange 2013, e.g. Anti Virus, Backup Solutions, Archiving, Mail Management, Mobile Device Software, etc, check with the software vendor.
3. DO NOT CONSIDER migrating anything until you know you have a good backup of your current Exchange environment. If you are lucky enough to have VMware ESX, Hyper-V or another virtualisation platform, consider doing a P2V conversion on your Exchange 2010 server then simply turning the 2010 Server off, then if it all goes to hell in a hand cart simply turn the original server back on again.
4. Outlook Client Access: Be aware your clients need to be using the following versions of Outlook BEFORE you migrate them.
- Outlook 2013.
- Outlook 2010 (With SP1 and this update).
- Outlook 2007 (With SP3 and this update).
- Outlook for Mac 2011.
- Entourage 2008 for Mac, Web Services Edition.
Exchange 2013 Migration Step 2 "Pre-Install"
I would suggest you run through the Microsoft Exchange Server Deployment Assistant, as a "Belt and braces" approach to the migration"
1. Before you do anything, it's time for a common sense check, make sure your existing Exchange 2010 Organisation is happy and running cleanly, and has good communication with both the domain and your DNS. Get in the event logs and make sure it's a happy server.
Time spent on reconnaissance is seldom wasted!

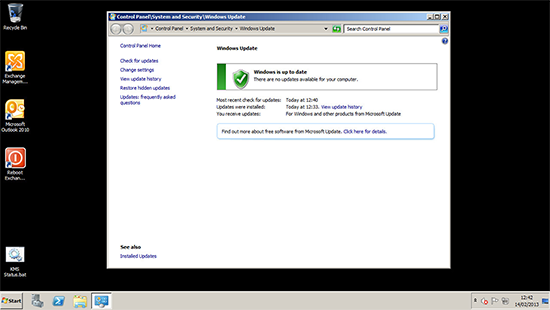
2. Run a full Windows update on your existing Exchange server(s), this will install any Exchange roll-ups that are outstanding.
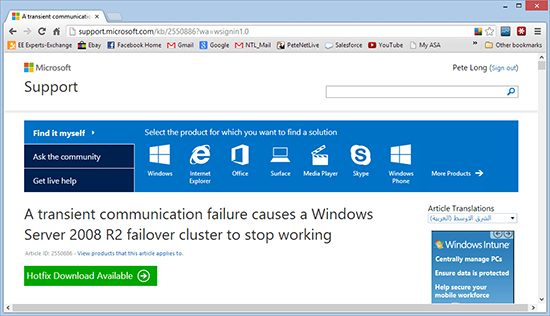
3. If you are planning to utilise DAG, then you should install the following hot-fix on your Exchange 2010 servers before deploying SP3.
4. For coexistence of Exchange 2010 and Exchange 2013, Your Exchange 2010 Servers musthave Service pack 3 installed. If you are upgrading from service pack 1 you may see the following error.
Exchange 2010 Service Pack 3 Error - 'The IIS 6 WMI Compatibility component is required'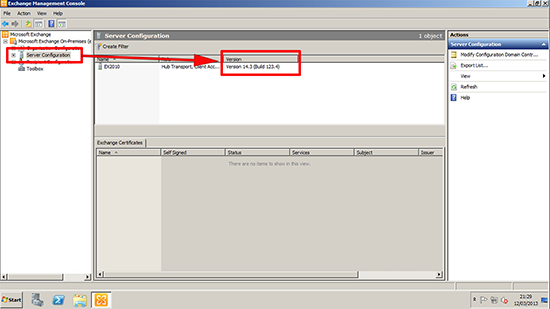
5. After SP3 apply the latest Update Rollup, (at 03/06/13 currently Update Rollup 1) download.
Exchange 2013 Migration Step 3 "Server Prerequisites"
1. The server that will run Exchange 2013, will need to be a domain member*, and I would run all the current updates before you start.
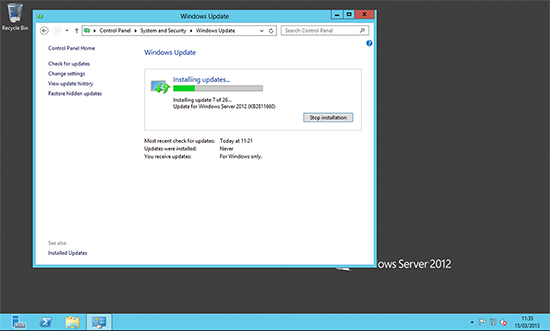
Once that is complete there are a number of server roles that will need adding. (Note: these roles are the SAME for both CAS and Mailbox Servers).
*Note: As with previous versions of Exchange it is recommended that you DO NOT run Exchange 2013 on a domain controller.
To add the Exchange 2013 Server roles via PowerShell
Note: Here on my 'Test Network' the server in question is also a domain controller. In yourproduction environment this will probably NOT be the case. If so, you will need to install the Remote Server Administration Tools for Active Directory.
Install-WindowsFeature RSAT-ADDS
Issue the following commands;
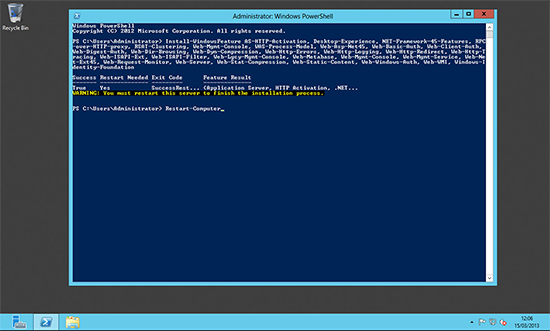
Install-WindowsFeature AS-HTTP-Activation, Desktop-Experience, NET-Framework-45-Features, RPC-over-HTTP-proxy, RSAT-Clustering, Web-Mgmt-Console, WAS-Process-Model, Web-Asp-Net45, Web-Basic-Auth, Web-Client-Auth, Web-Digest-Auth, Web-Dir-Browsing, Web-Dyn-Compression, Web-Http-Errors, Web-Http-Logging, Web-Http-Redirect, Web-Http-Tracing, Web-ISAPI-Ext, Web-ISAPI-Filter, Web-Lgcy-Mgmt-Console, Web-Metabase, Web-Mgmt-Console, Web-Mgmt-Service, Web-Net-Ext45, Web-Request-Monitor, Web-Server, Web-Stat-Compression, Web-Static-Content, Web-Windows-Auth, Web-WMI, Windows-Identity-Foundation, RSAT-Clustering-CmdInterface
Then Reboot;
Restart-Computer
Then Reboot;
Restart-Computer
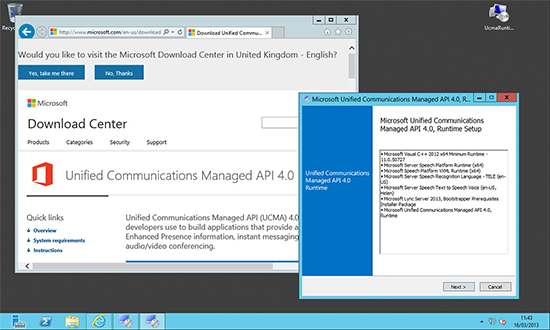
2. You will need to install the Microsoft Unified Communications Managed API 4.0, Core Runtime 64-bit.
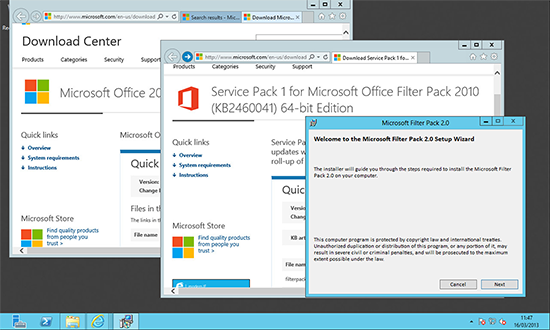
3. You will also need to install the Microsoft Office 2010 Filter Pack 64 bit and Microsoft Office 2010 Filter Pack SP1 64 bit.
Exchange 2013 Migration Step 4 "Install Exchange 2013"
Note: Ensure the Exchange 2013 Media version you are using is CU2. {download here}
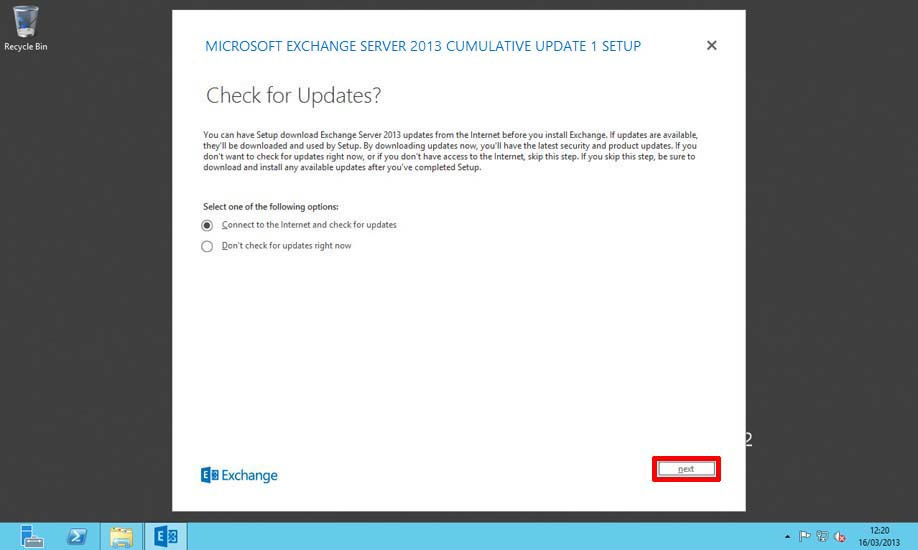
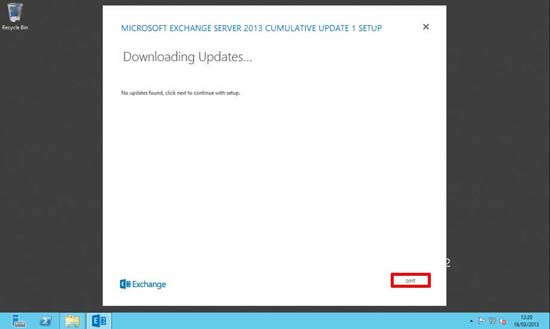
1. Insert the DVD or open the install files and run setup.exe. It will attempt to find any outstanding updates before it starts.
2. Next.
3. Setup will begin copying files.
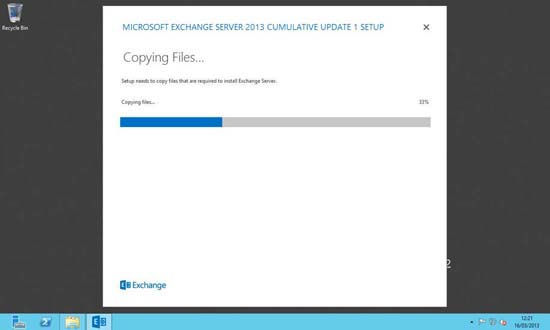
4. Next.

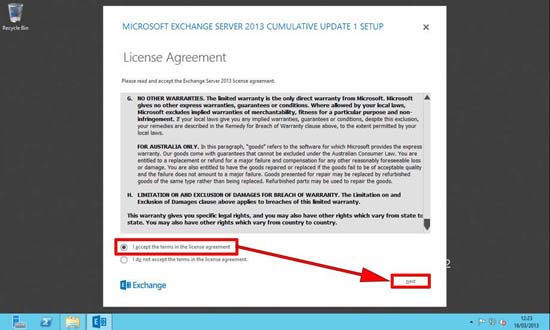
5. Accept the EULA > Next.
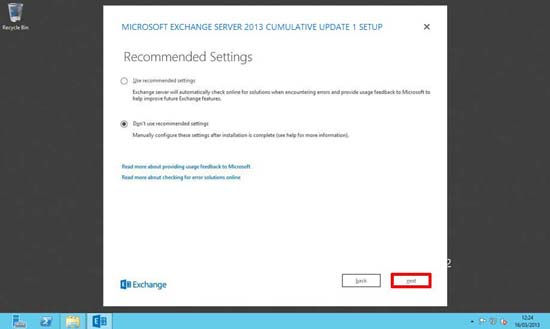
6. I tend to disable feedback, but the choice is yours > Next.
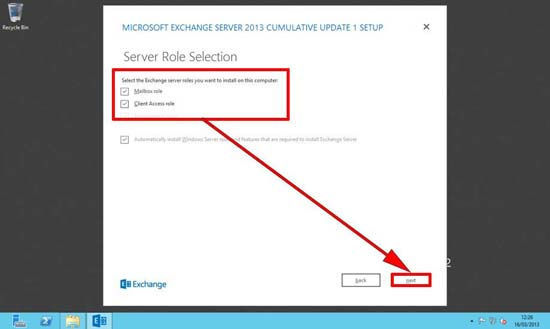
7. Select the server roles that you wish to install.
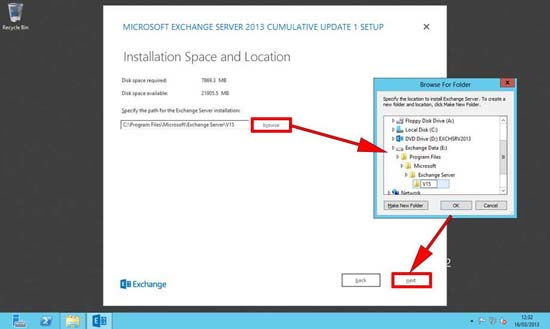
8. Select the folder that you wish to install the Exchange program into.
Note: Remember if deploying multiple Exchange 2013 servers, it's considered good practice to keep the folder paths contiguous across all the servers.
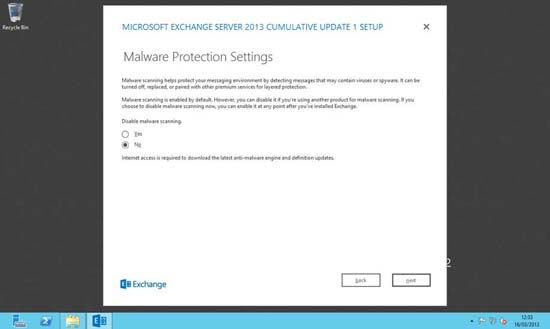
9. If you plan to deploy third party malware protection (post Install), then you might wish to disable this, but in most cases you will want it enabled > Next.
Note: This is built on technology that was called 'Forefront' in previous versions of Exchange.
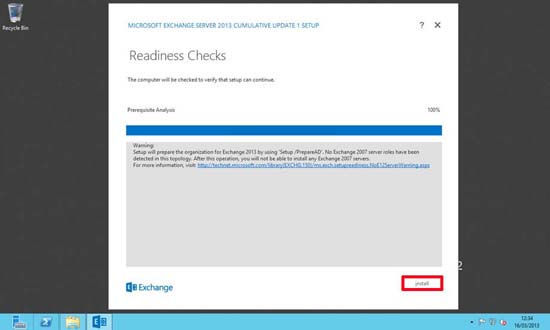
10. Pre deployment readiness checks will be carried out > when complete > Next.
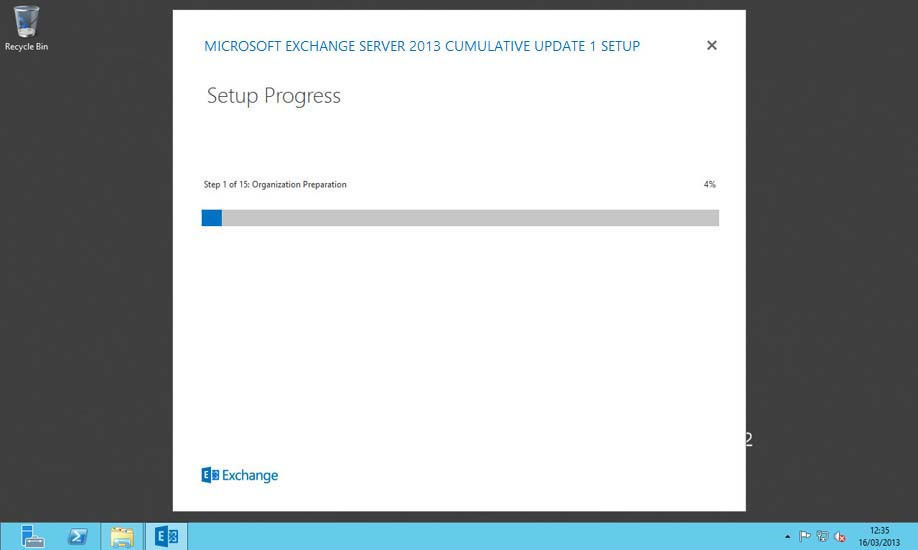
11. Setup will take quite some time.
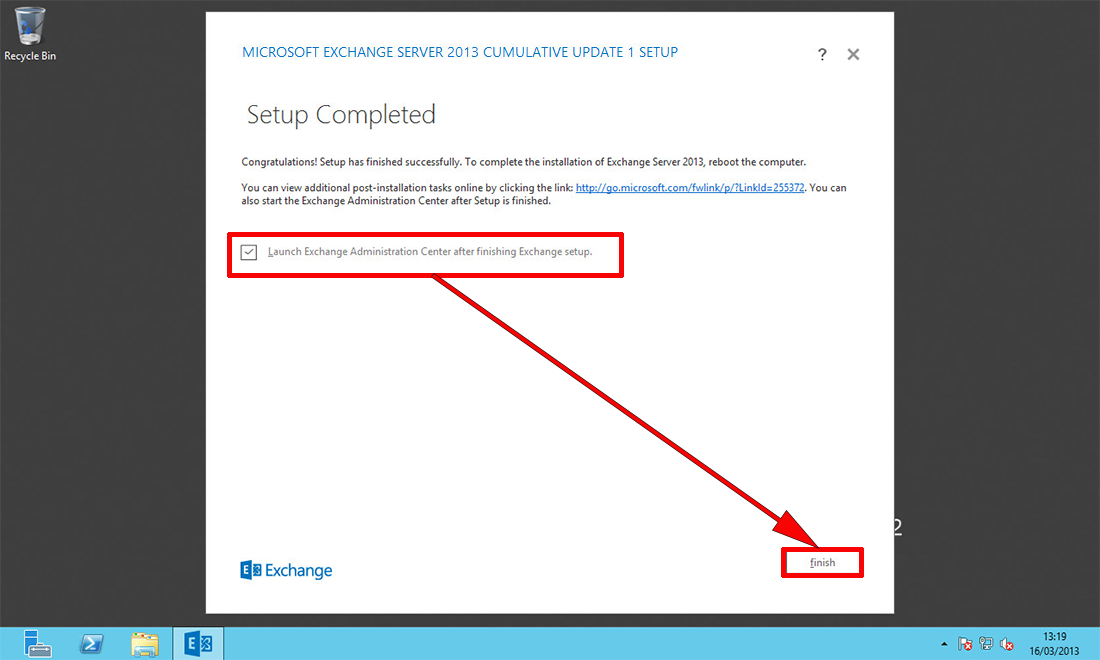
12. When complete, tick the box to launch the admin console > Finish.
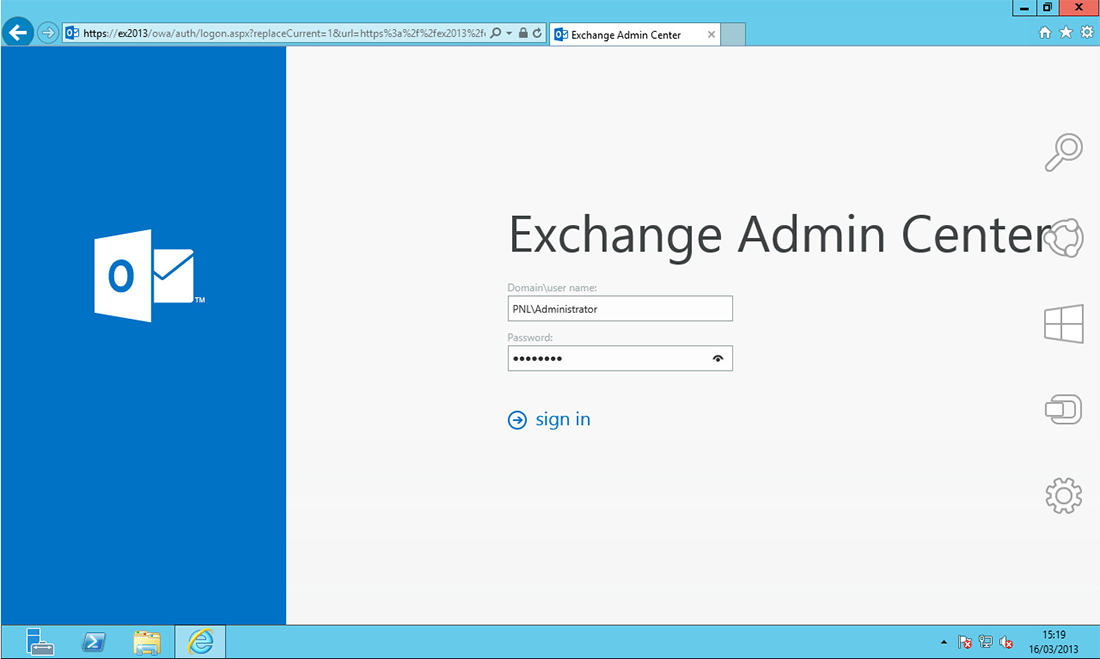
13. After a few seconds the Exchange Admin Center will open.
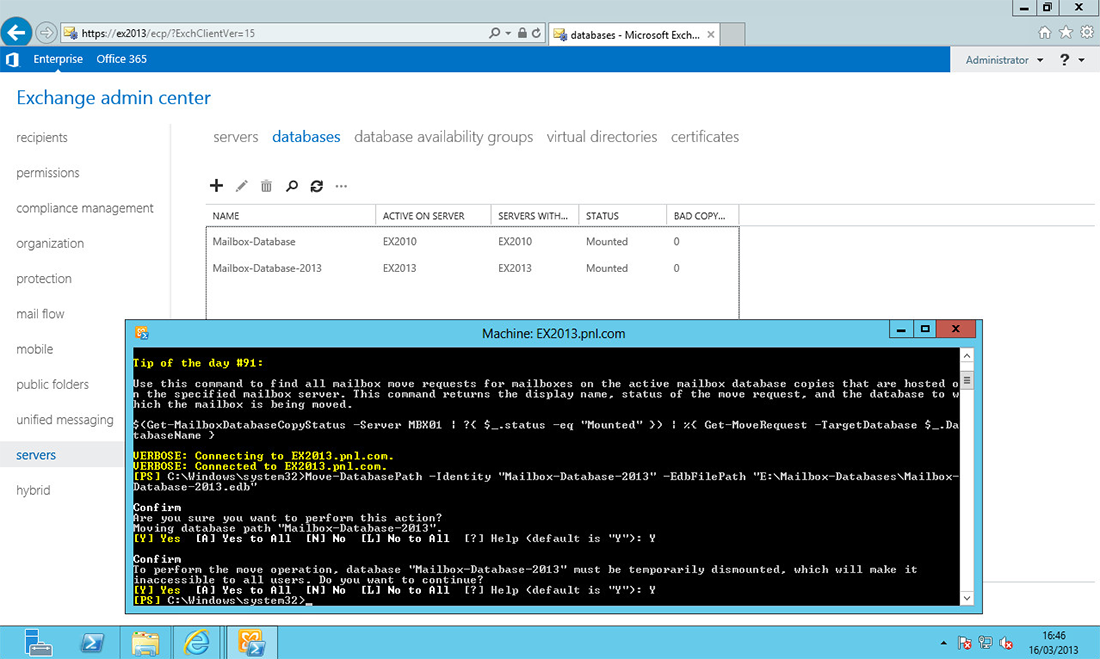
14. At this point I would move the new Exchange Database from its default location to its own volume/folder, (again keep this path contiguous across all the new servers). The following PowerShell command will do this for you;
Move-DatabasePath -Identity "Database Name" -EdbFilePath "E:\Folder Name\Database name.edb" –LogFolderpath “E:\Folder Name”
Exchange 2013 Migration Step 5 "Migrate Mailbox's"
STOP! Before you proceed you need to think about OWA access. For internal access this will not be a problem BUT if you have users that access OWA externally (e.g. via https://mail.yourpublicdomain.com/owa) Then you will have to DO SOME PLANNING. Unless you have two free public IP addresses, your router/firewall can only point to one CAS server at a time.
STOP AGAIN! OK I've had more than one email about this so, here's a warning. Moving Mailboxes creates logs, the more you move, the more logs it creates. The only way to clear these logs properly is to do an Exchange Aware/VSS Level backup. If you just start moving mailboxes without keeping an eye on this you can fill up a volume with logs, and if you are daft enough to have this on our system volume you can take the server down, you have been warned!
1. First make sure that the new server can see the existing Exchange infrastructure. From within the Exchange Admin Center > Servers. You should see both your Exchange 2010 Servers and the new Exchange 2013 Server.
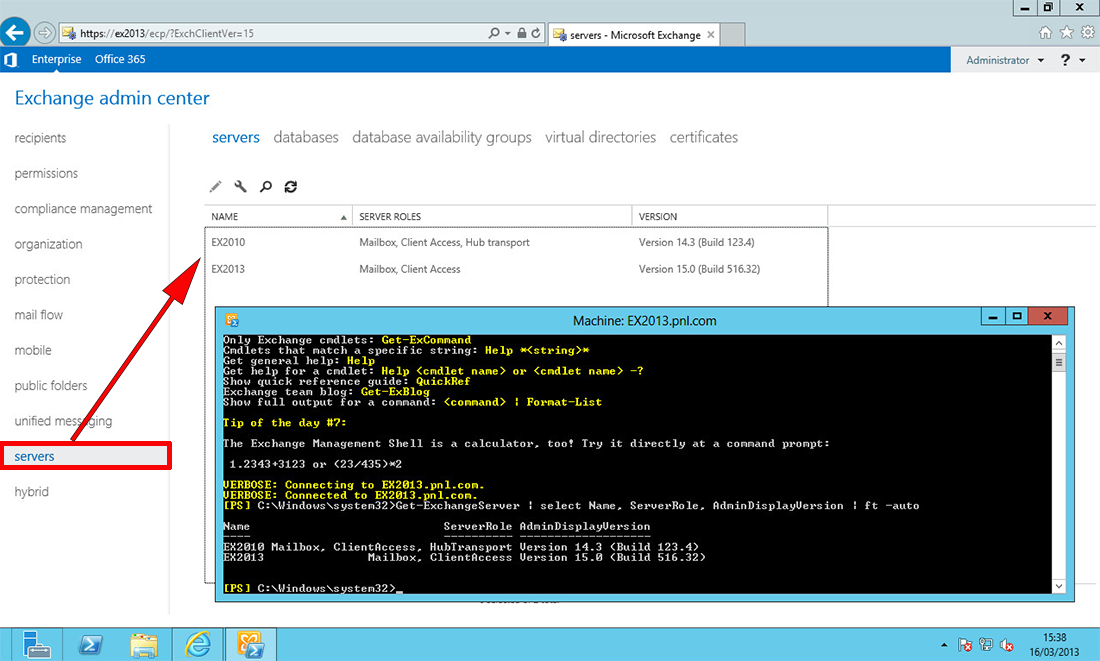
Note: You can see the same with the following PowerShell command;
Get-ExchangeServer | select Name, ServerRole, AdminDisplayVersion | ft –auto
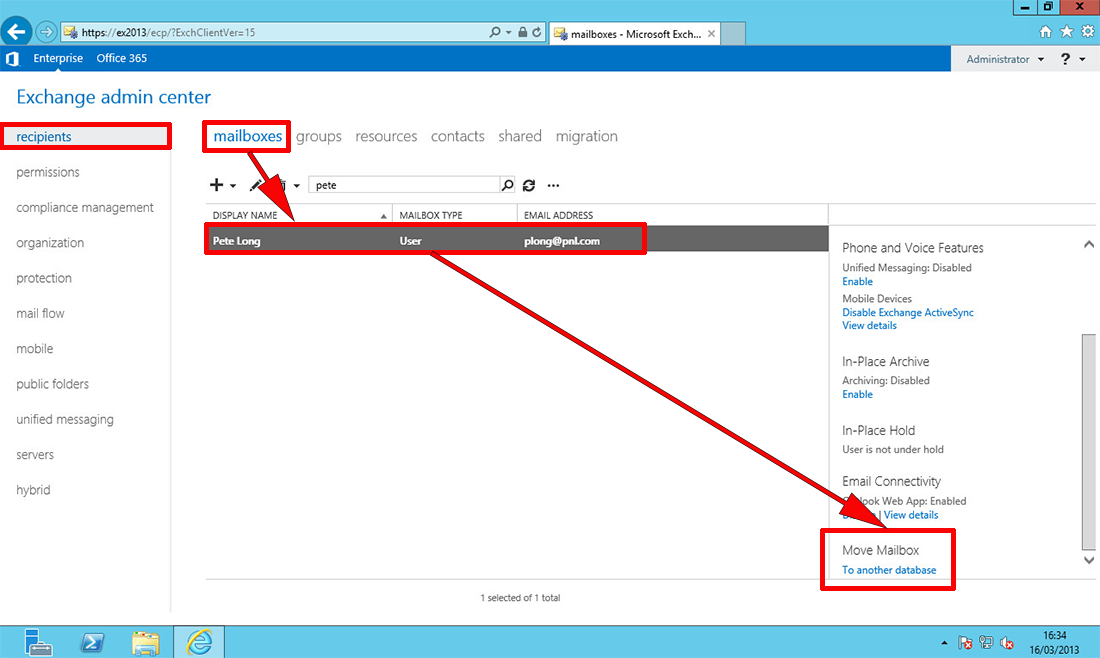
2. Test move one mailbox from Exchange 2010 to 2013, Recipients > Mailboxes > Locate our Test User > Move Mailbox.
3. Give the test migration a name, and browse to the new datastore (Note: If the move fails you can increase both the BadItem limit and the LargeItem limit here as well) > Next.
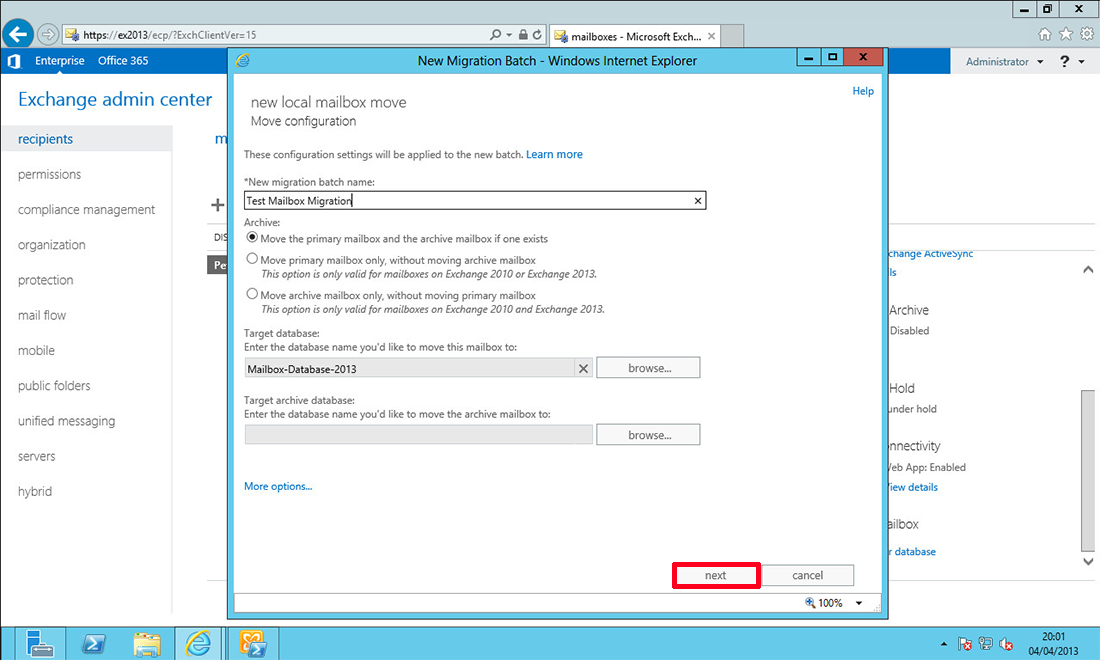
4. New.

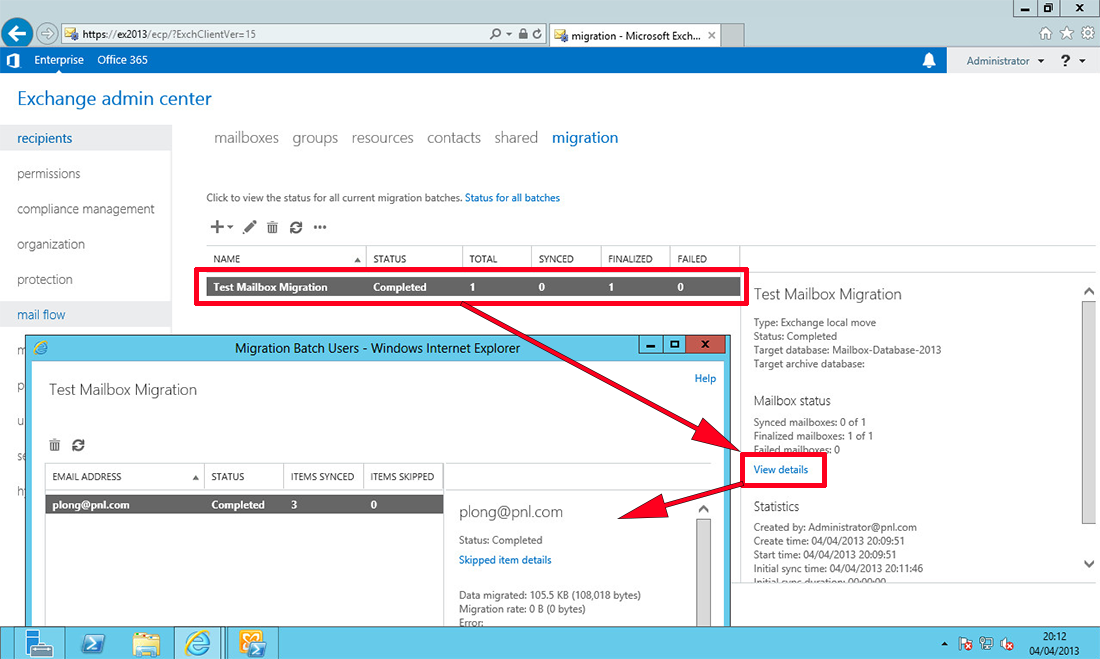
5. You will be asked if you want to the 'Migration Dashboard'.
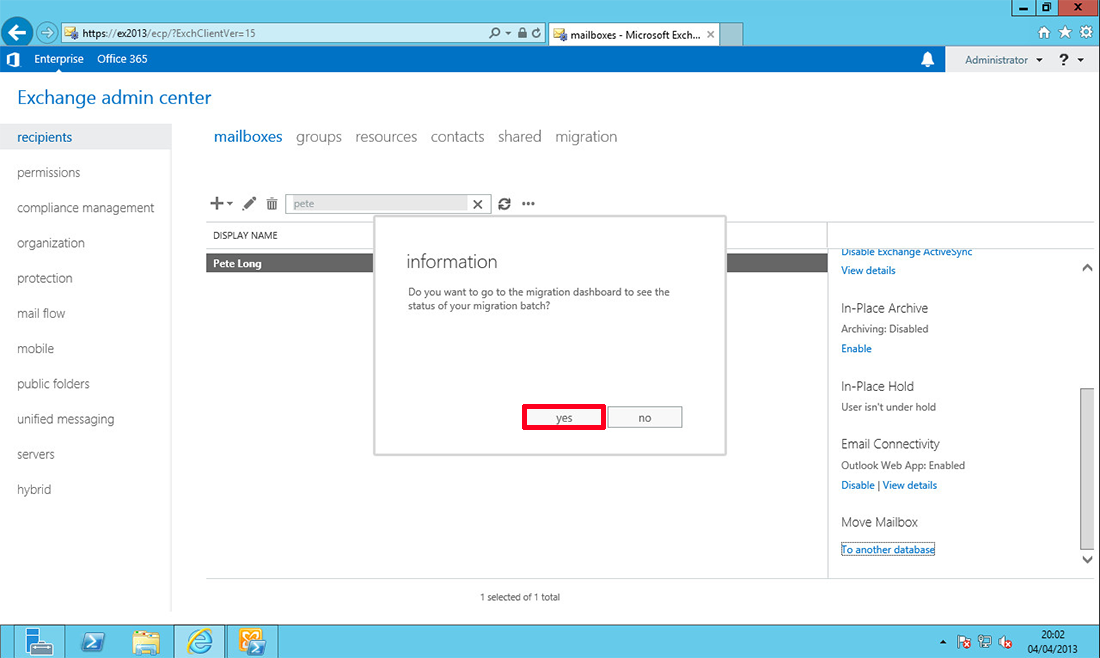
6. Here you can watch progress (remember to keep hitting 'refresh').
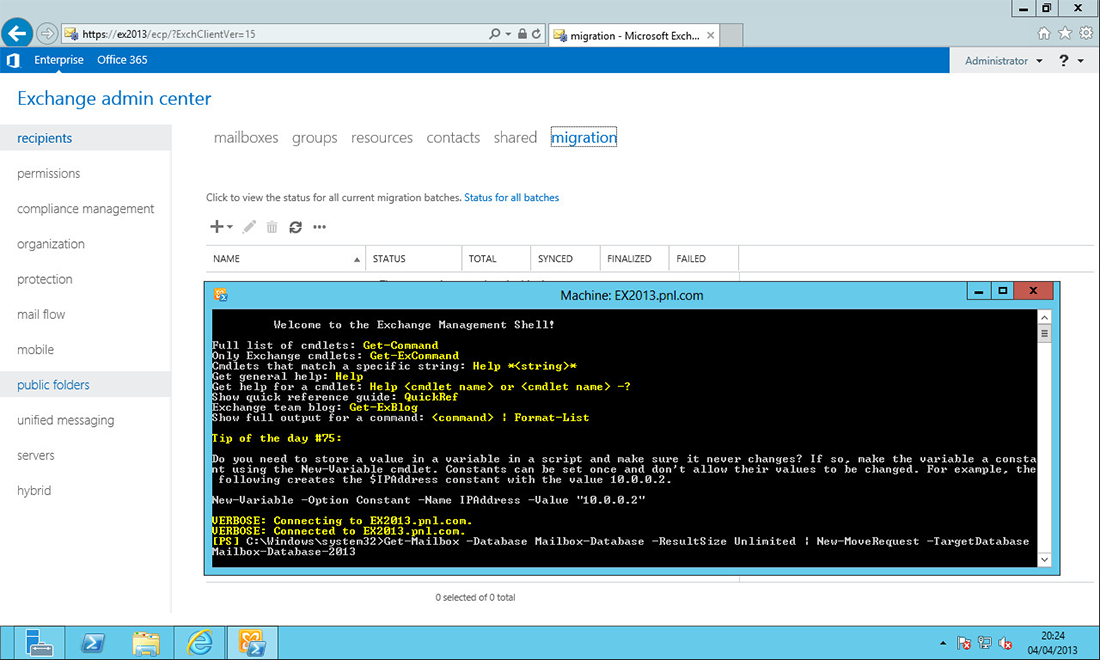
7. If you prefer to use PowerShell you can migrate all mailboxes from one database to another with the following command;
Get-Mailbox -Database Mailbox-Database | New-MoveRequest -TargetDatabase Mailbox-Databse-2013
If you have more than 1000 mailboxes use the following instead,
Get-Mailbox -Database Mailbox-Database -ResultSize Unlimited | New-MoveRequest -TargetDatabase Mailbox-Database-2013
If you have more than 1000 mailboxes use the following instead,
Get-Mailbox -Database Mailbox-Database -ResultSize Unlimited | New-MoveRequest -TargetDatabase Mailbox-Database-2013
Depending on the amount of mailboxes this can take a while!
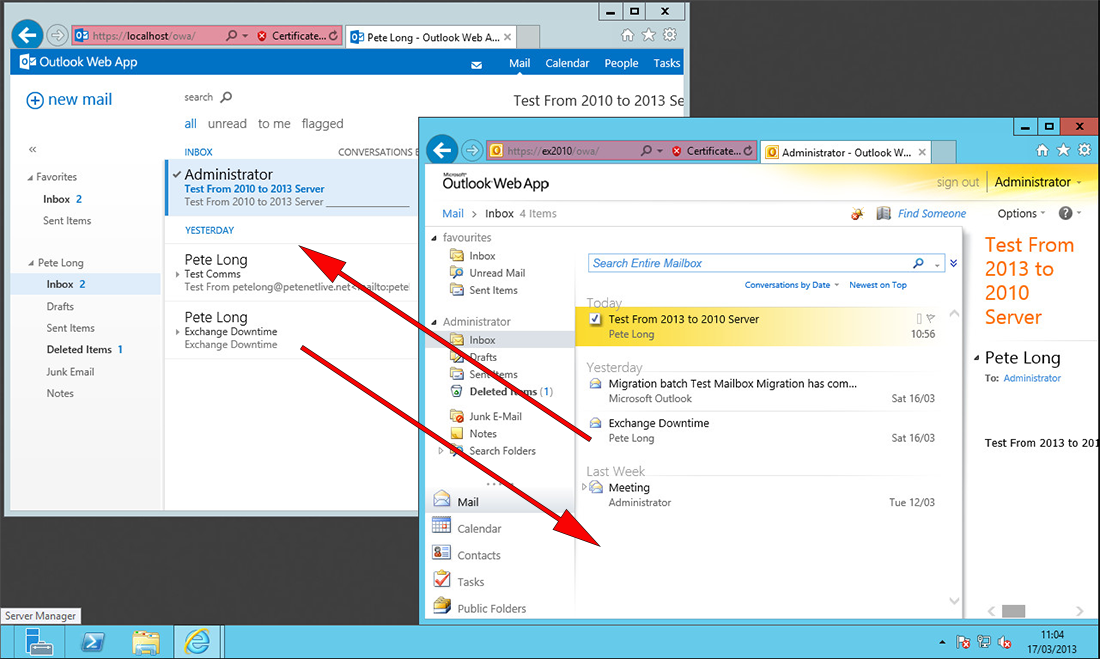
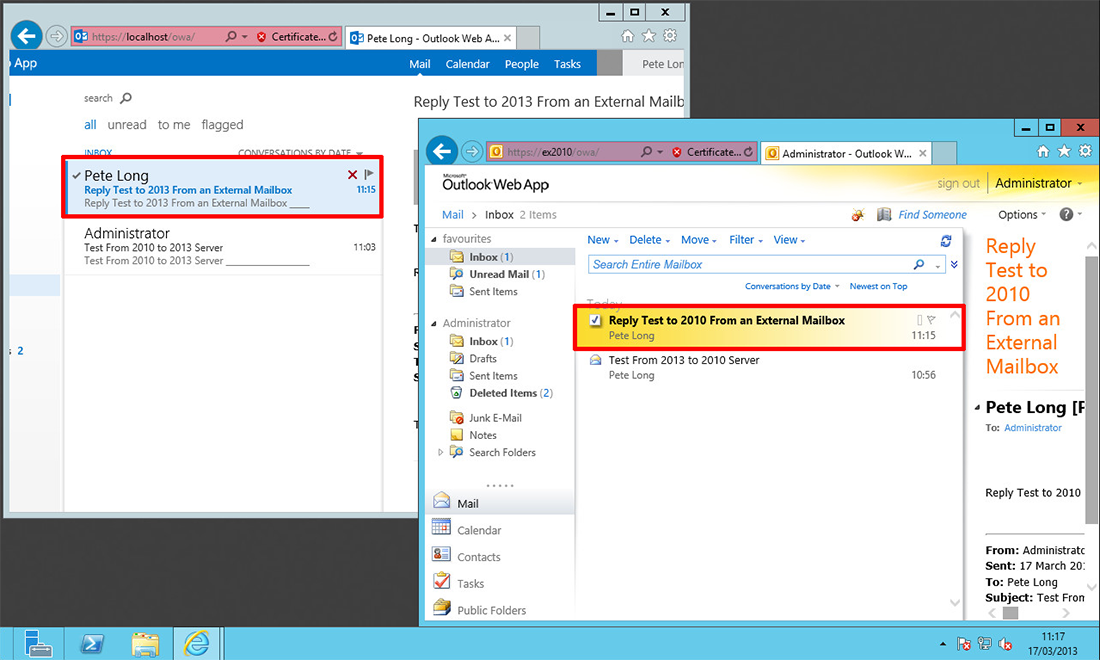
8. Then test mail flow to/from this mailbox to internal recipients in the Exchange 2010 infrastructure, and then test mail flow to/from an external mailbox.
Note: At this point you might struggle to connect to the Exchange 2013 Admin Center as 'Administrator', because that user's mailbox is still on the Exchange 2010 Server. If that happens to you and you are 'Locked Out' of the Exchange Admin Center, simply add the user you migrated already, to the Exchange Organization Management group, and log in as that user to https://{Exchange-2013-Server-Name}/ecp

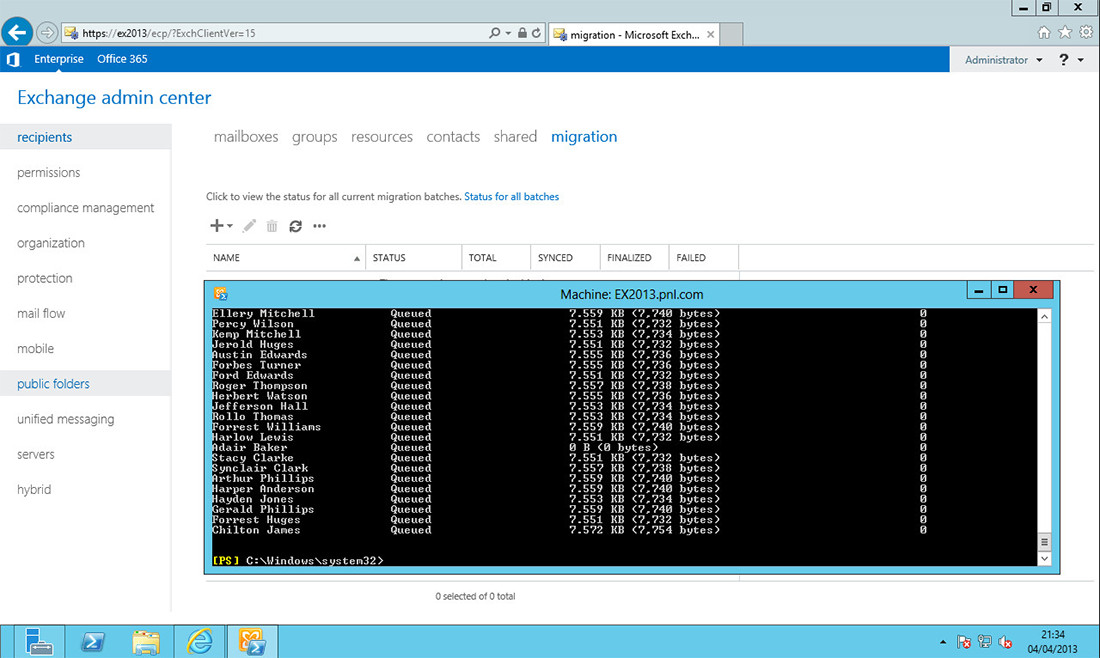
9. You can now migrate the remainder of your mailboxes.

Note: Depending on mailbox size this can take a VERY LONG time, I would suggest staging this migration gradually. To view progress;
Get-MoveRequestStatistics -MoveRequestQueue "Mailbox-Database-2013"
To check if anything is left in the OLD Database;
Get-MailboxDatabase -Identity "Mailbox-Database" | Get-Mailbox
To check if anything is left in the OLD Database;
Get-MailboxDatabase -Identity "Mailbox-Database" | Get-Mailbox
Exchange 2013 Migration Step 6 "Change Mail flow"
At this point you need to change the SMTP feed from the old Exchange 2010 box to the new Exchange 2013 Server, how you do this depends on your network setup, some examples of how you might do this are,
i. Change the SMTP (TCP Port 25) Port redirect on your router/firewall.
ii. Swap IP addresses from the old to the new server.
iii. Change the translation from public to private IP address to point to the new IP.
ii. Swap IP addresses from the old to the new server.
iii. Change the translation from public to private IP address to point to the new IP.
Note: If you have any mail scanning servers, anti spam hardware devices etc, then they will also need changing to point to the new server.
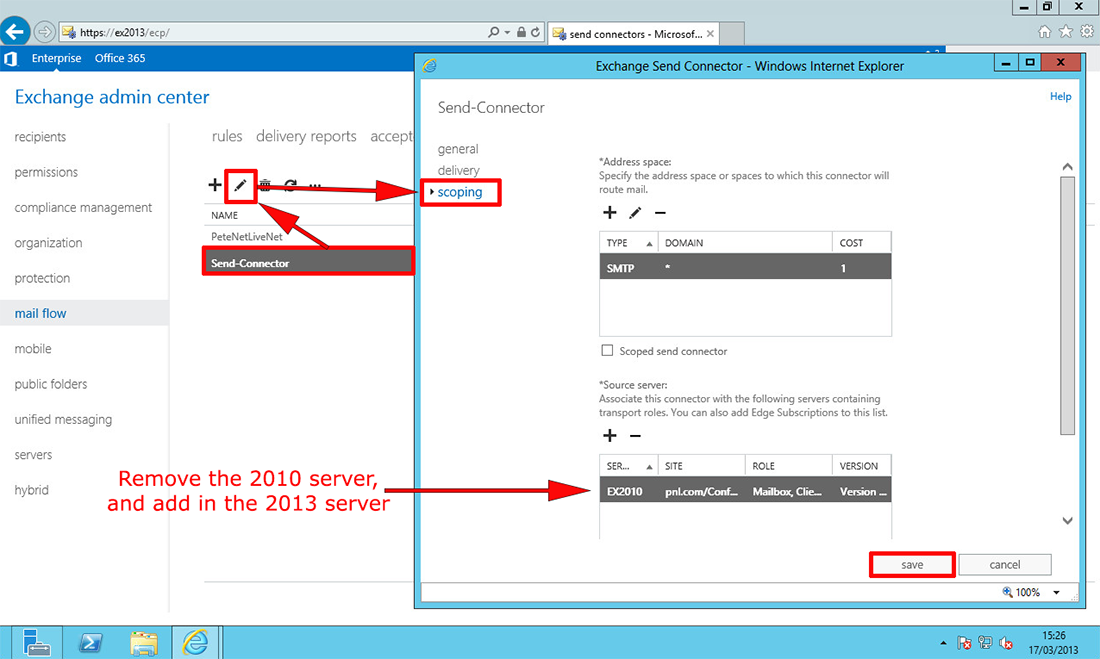
1. You will need to add the new server to your Exchange 'Send Connector' and remove the Exchange 2010 Server. (Note: I'm assuming you only have one send connector, if you have more than one i.e. for particular domains, or for secure TLS mail you will need to do these as well). From Exchange Admin Center > Mail flow > Send connectors > Select the send connector > Edit > Scoping > Add the 2013 server > Remove the 2010 server > Save.
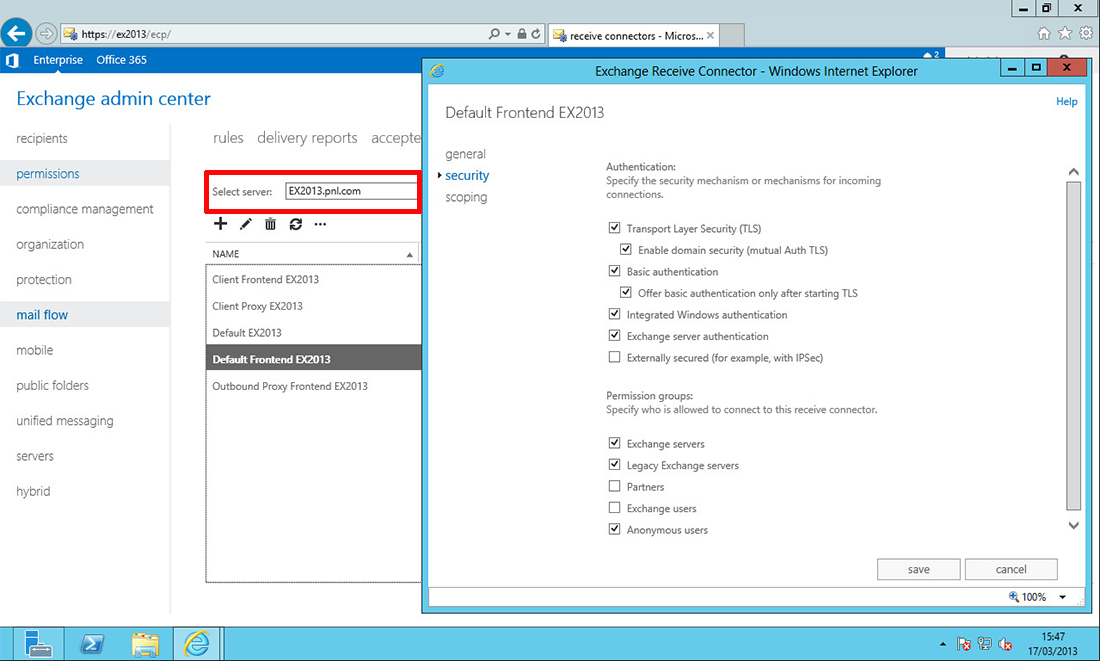
2. You will not need to create receive connectors on the Exchange 2013 Server, if you navigate to mail flow > receive connectors > Change the drop down to point to the Exchange 2013 Server. You will see there is a 'Default Frontend' Connector already configured for Exchange 2013.
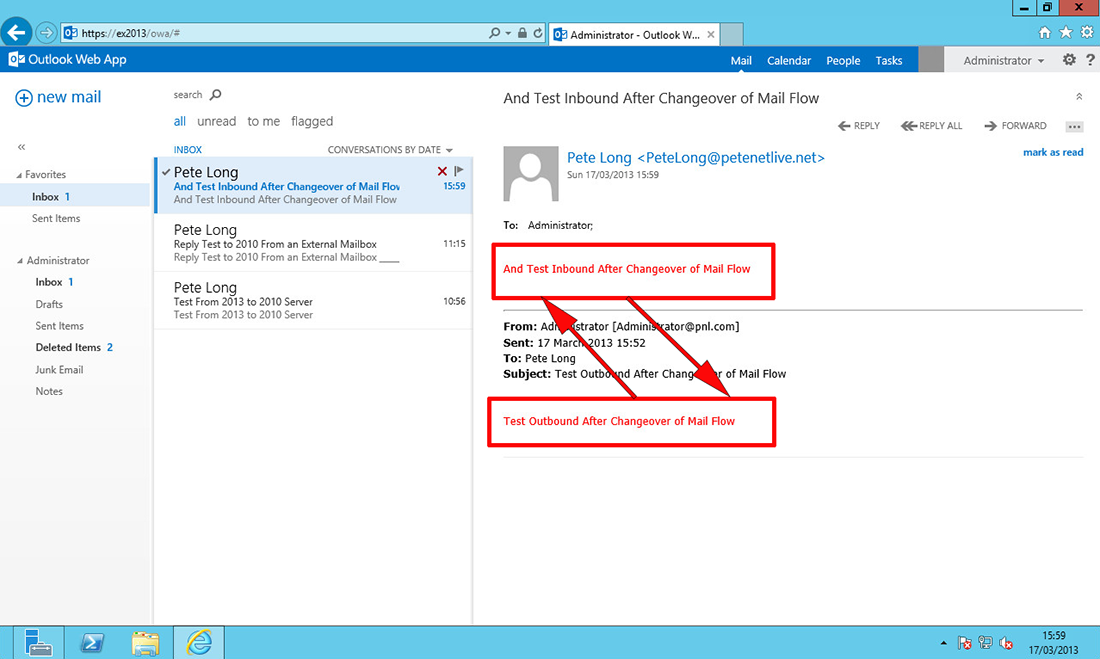
3. At this point, it would be sensible to once again check mail flow, to and from an external mail account.
Related Articles, References, Credits, or External Links
Thanks to Simcha Kope for the feedback (Adding RSAT-ADDS)
Thanks to Austin Weber for spotting my PowerShell typo.
Thanks to Tony Blunt for the log file PowerShell syntax omission.
Thanks to Austin Weber for spotting my PowerShell typo.
Thanks to Tony Blunt for the log file PowerShell syntax omission.
Original Article Written 03/06/13
No comments:
Post a Comment